Configure Zenskar's Snowflake connector
Configuration settings for the connector.
🐕🦺 Setup guide
This guide will help you configure Zenskar's Snowflake connector. Consequently, you can use Snowflake as a data source in Zenskar.
PrerequisitesBefore configuring Zenskar's Snowflake connector, ensure that you have set up your Snowflake account for integration.
⚙️ Set up data source and type
- Log into your Zenskar account.
- In the left navigation bar, click Metering > Data Sources. In the top-right corner, click + ADD DATA SOURCE.
- In the Set Up Source section of the Add New Data Source page, enter a name for the Snowflake data source connection.
- Select Snowflake from the Source Type dropdown.
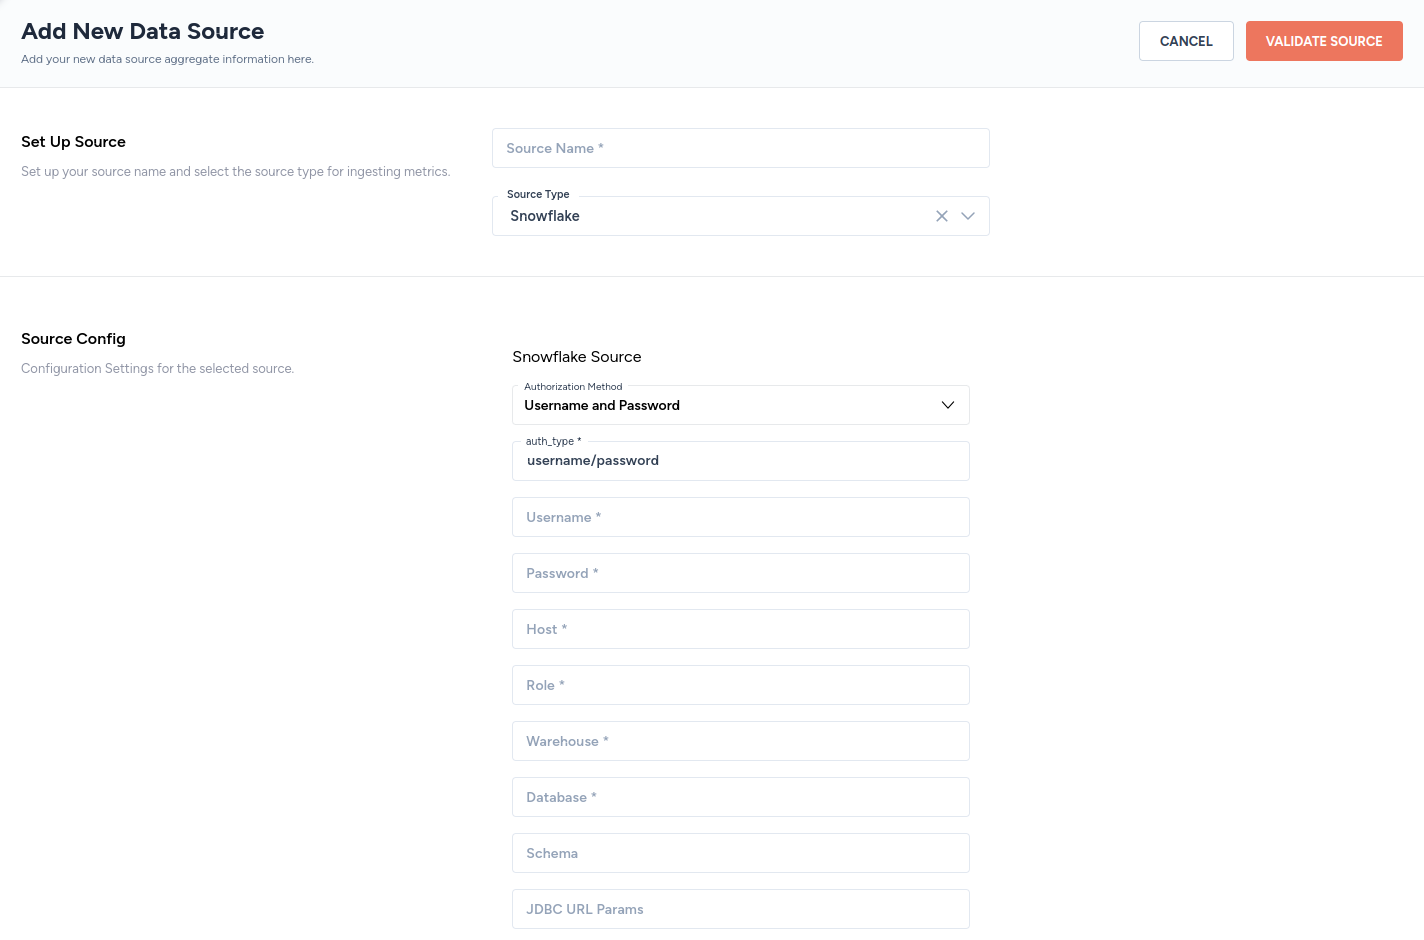
⚙️ Configure data source
In the Source Config section of the Add New Data Source page, add the following details:
| Field | Description |
|---|---|
| Authorization Method | Select Username and Password from the drop-down menu. |
| auth_type | The phrase username/password will be prepopulated. Do not change. |
| Username | Enter the username you created. |
| Password | Enter the password associated with the username. |
| Host | Enter the host domain of the Snowflake instance (must include the account, region, cloud environment, and end with snowflakecomputing.com). For example, accountname.us-east-2.aws.snowflakecomputing.com. |
| Role | Enter the role you created. |
| Warehouse | Enter the warehouse you created. |
| Database | Enter the database you created. |
| Schema | Enter the default schema used as the target schema for all statements issued from the connection that do not explicitly specify a schema name. |
| JDBC URL Params (Optional) | Enter the additional properties to pass to the JDBC URL string when connecting to the database formatted as key=value pairs separated by the symbol &. For example, key1=value1&key2=value2&key3=value3 |
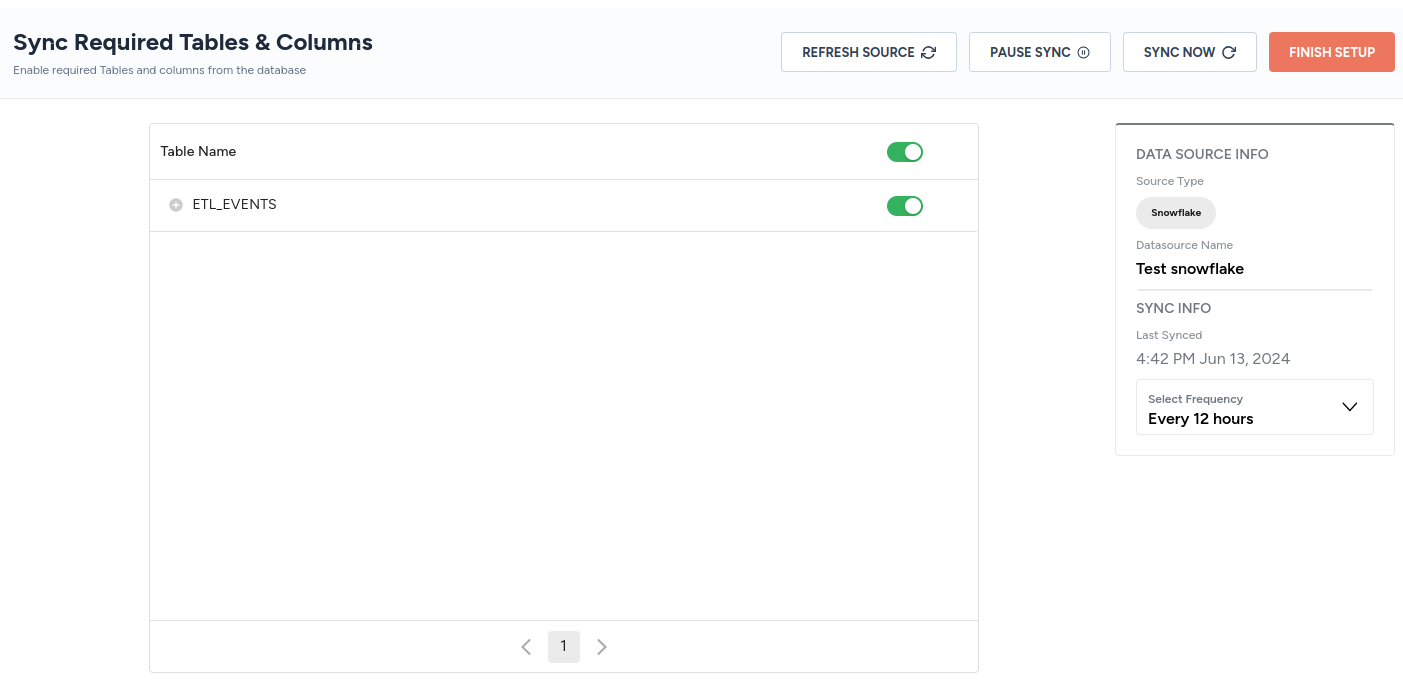
Select tables and columns to sync
Select tables to sync
If the connector is configured correctly, you will be asked to select the tables to sync:
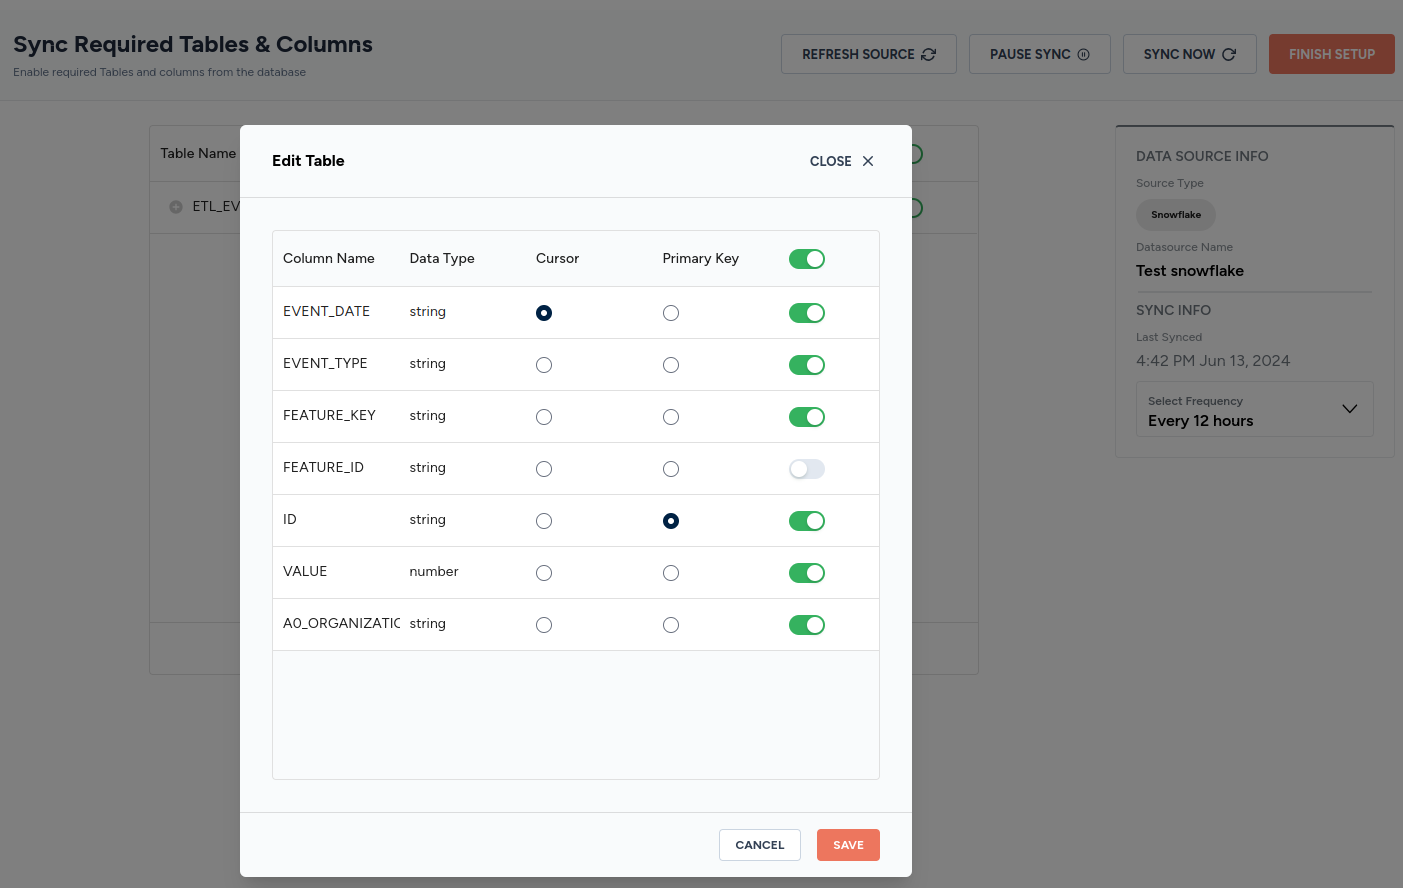
Select columns to sync
A table can be expanded to select the columns to sync.
- A cursor can be set against a column.
- A column can be set as the primary key.
Select sync frequency
A sync frequency can also be configured.
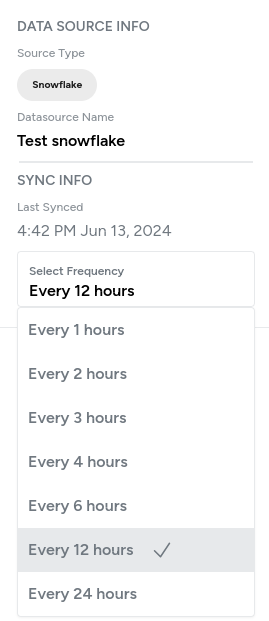
Finally, click on the FINISH SETUP button to save the connector.

Updated 5 months ago
Did this page help you?