Databricks Lakehouse
🐕🦺 Setup guide
Zenskar's Databricks data-source connector syncs data with Delta Lake on Databricks Lakehouse. Each stream is written to its own Delta table.
NoteYou must use Unity Catalog to use this connector.
⚙️ Step 1: set up data source and type
- Log into your Zenskar account.
- In the left navigation bar, click Metering > Data Sources.
- In the top-right corner, click + ADD DATA SOURCE.
- In the Set Up Source section of the Add New Data Source page, enter a name for the Databricks data source connection.
- Select Databricks from the Source Type drop-down menu.

⚙️ Step 2: configure data source
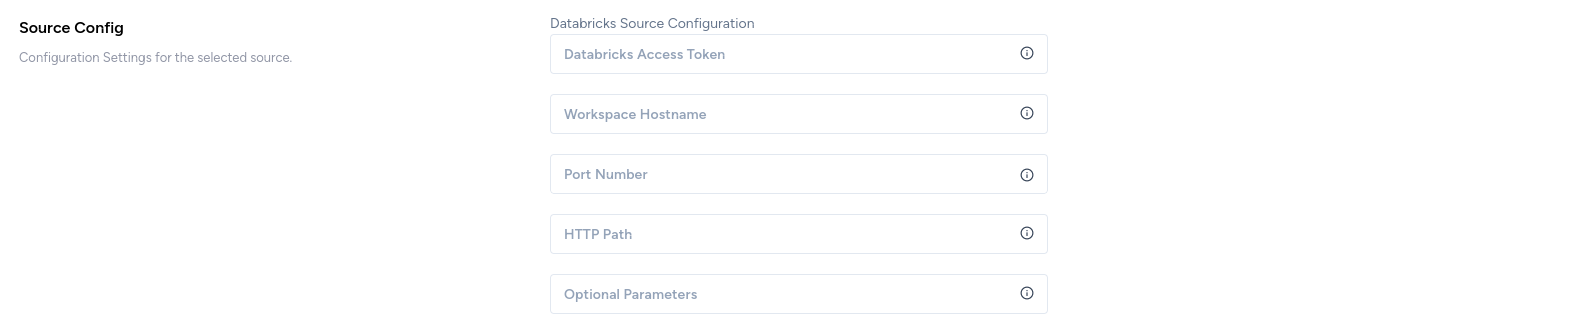
In the Source Config section of the Add New Data Source page, fill in the following details:
- Databricks Access Token: refer the Databricks authentication section.
- Workspace Hostname: the hostname of the Databricks workspace. Refer the Section Retrieve Databricks workspace details section.
A workspace is a Databricks deployment in a cloud service account. It provides a unified environment for working with Databricks assets for a specified set of users.
- Port Number: refer the Retrieve Databricks workspace details section.
- HTTP Path: refer the Retrieve Databricks workspace details section.
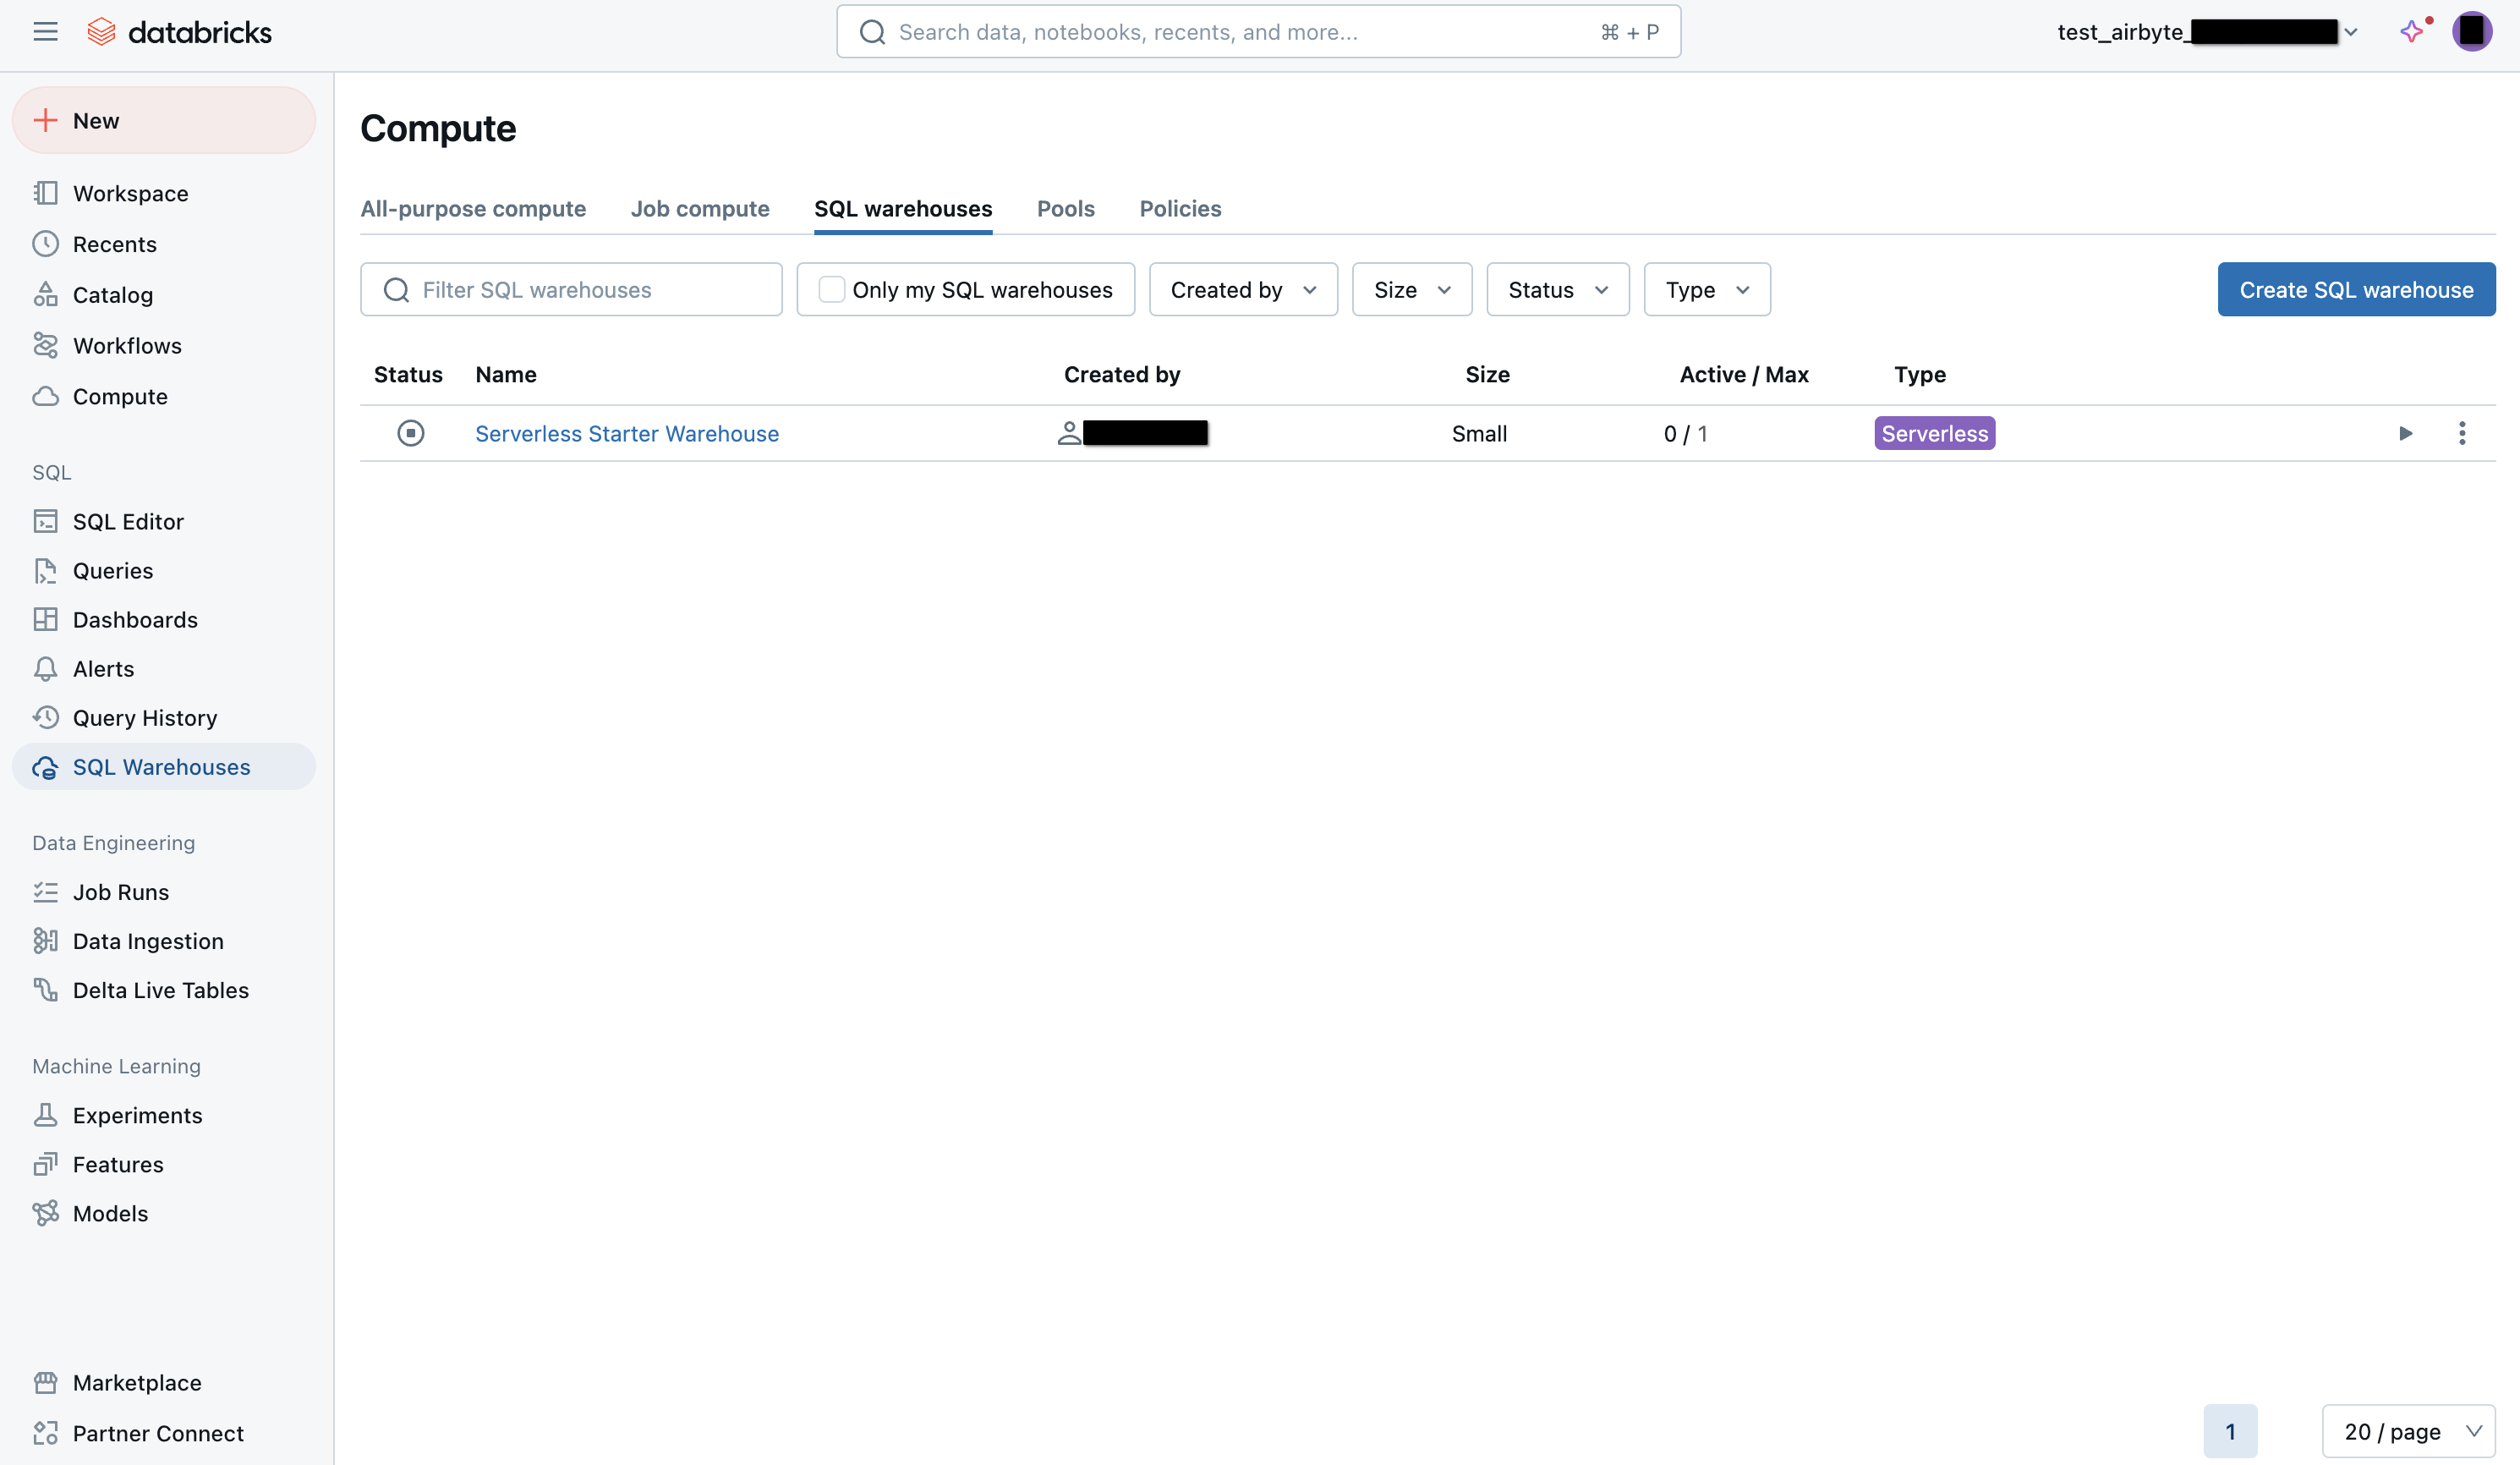
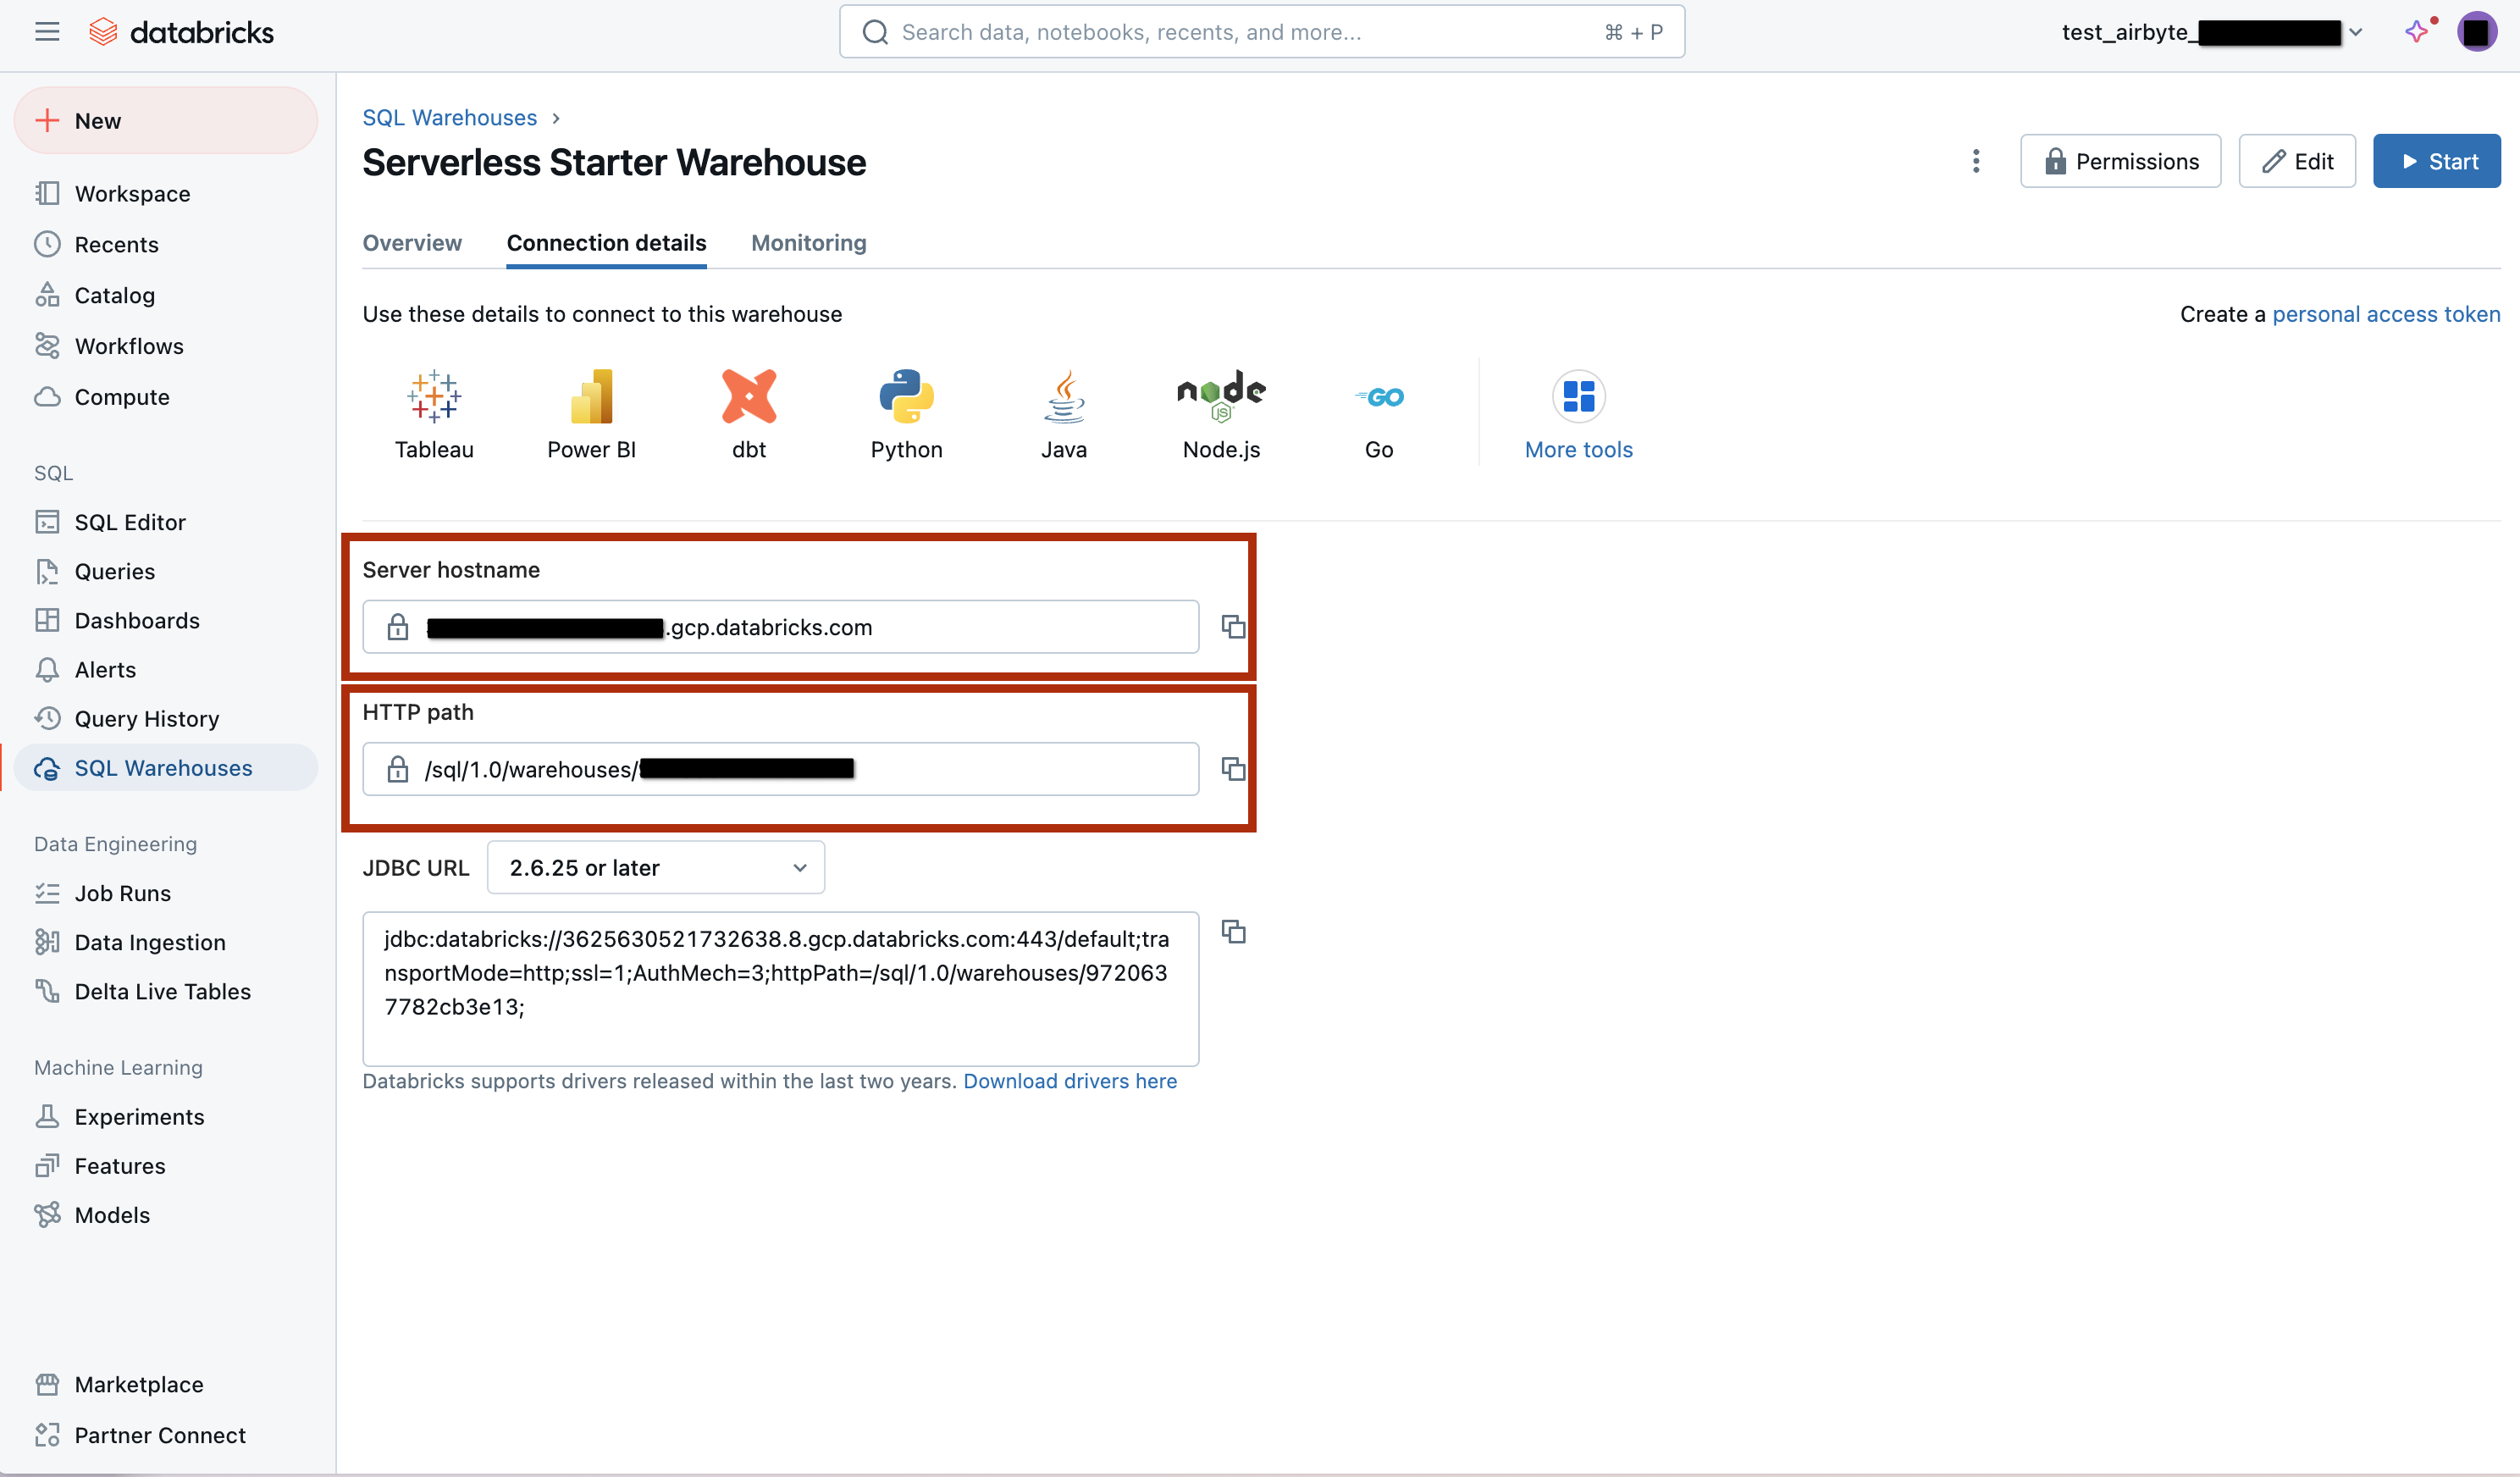
Retrieve Databricks workspace details
- Open the workspace console.
- Open your SQL warehouse:
- Open the Connection Details tab:
Databricks authentication
Generate access token
- Open your workspace console.
- Click on the named drop-down menu at the top-right corner, and click on Settings option.
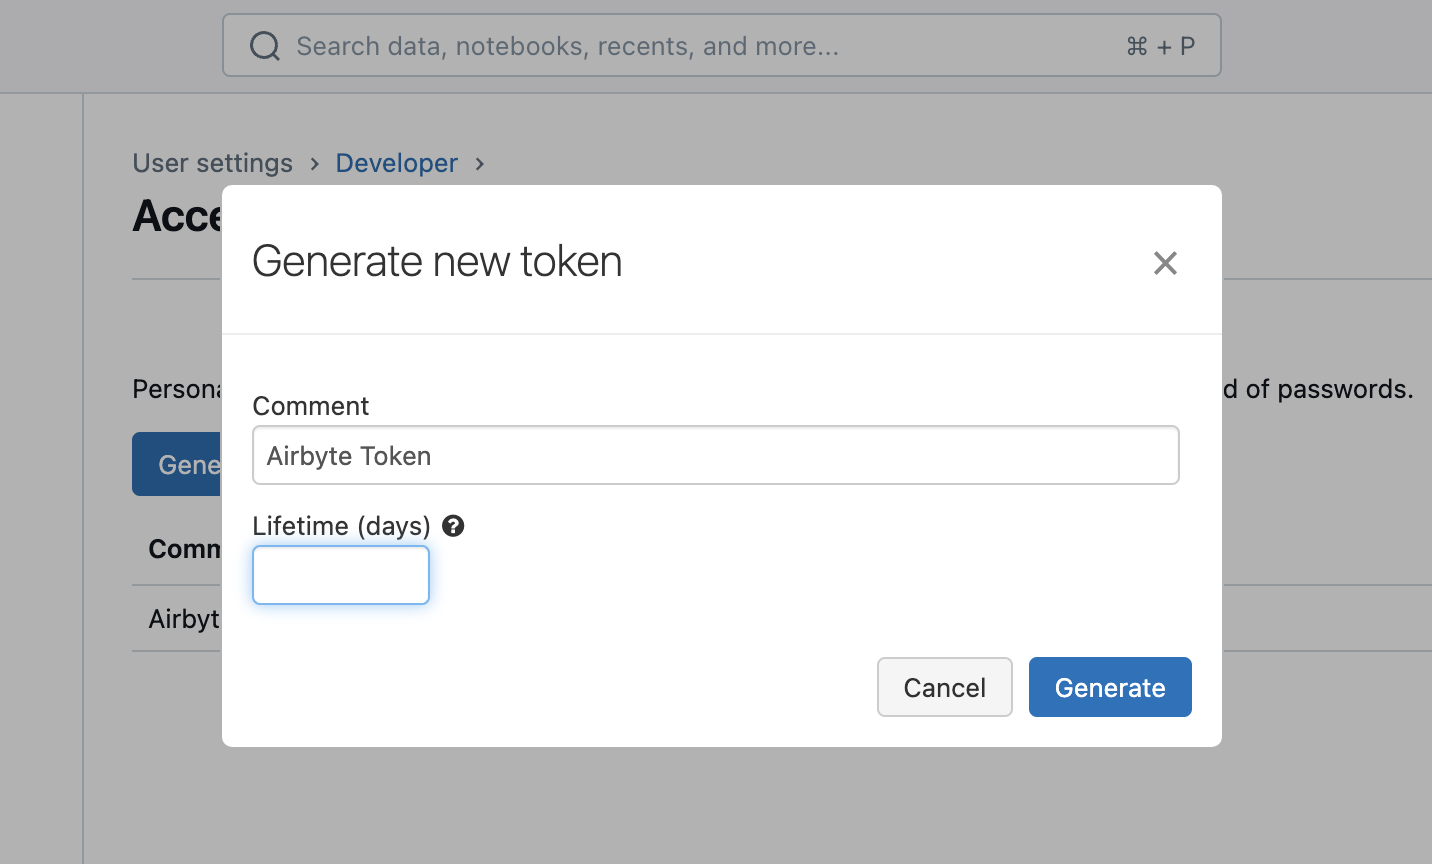
- Navigate to User Settings > Developer, and click on Generate new token, as shown below.
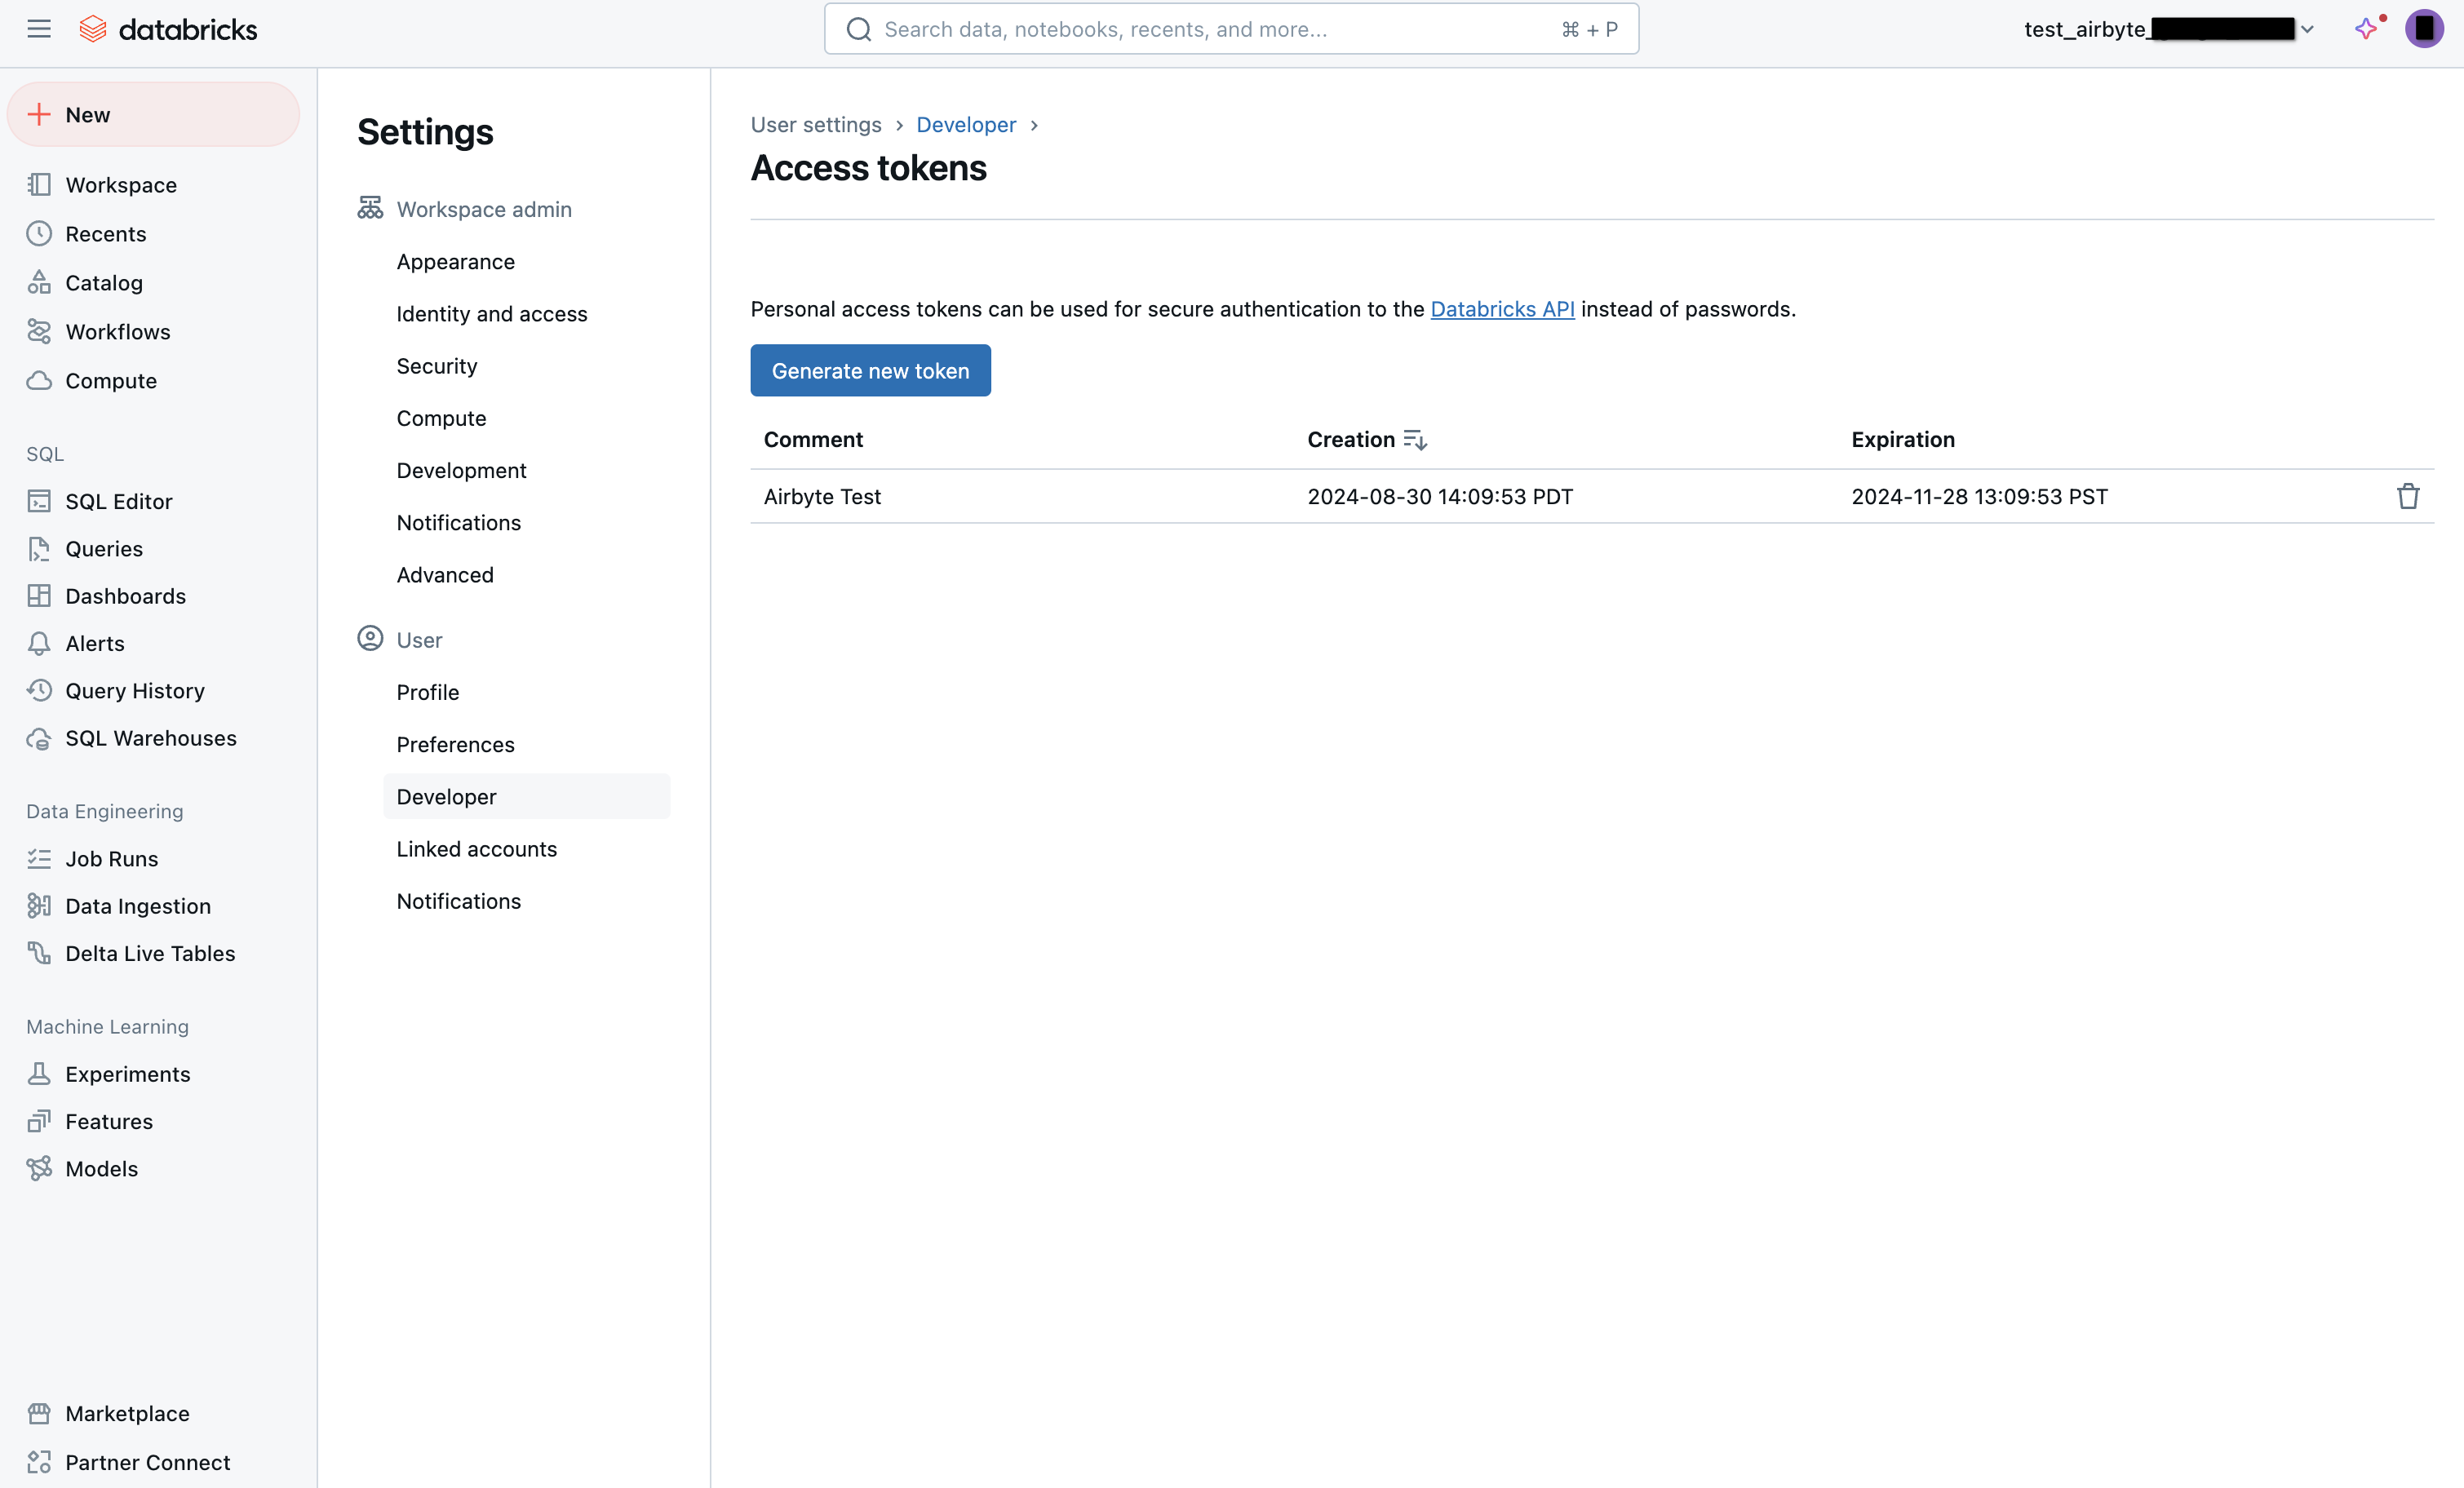
- Enter a description for the token and its lifetime. You can leave blank Lifetime (days) blank for a permanent token:
Updated 5 months ago
Did this page help you?