Segments
Segments module provides a comprehensive view of different customer segments created based on various filters. Segments module allows efficient management and customization of communication strategies for different customer groups.
⚙️ Create a segment
-
Navigate to Communications > Segments in the left side-panel.
-
You will arrive at Segments page.
-
Click on the CREATE NEW SEGMENT button.
-
In the Add New Segment page, add the following details:
- Segment name: any user-defined string that describes the segment.
- Add filters to create a segment: major filters types available are as follows:
Filter Sub-filters Customer Customer Name
Customer Email
Custom Data
Connector Name\
Default Payment Method
Default Payment Method Status
Customer CountryInvoice Status
Due date exceeded by(days)
Created afterPayment method Type
Status
Connector
Is defaultConnector Name
ConnectionMonitor -
Click on the CREATE SEGMENT button to save the segment.
📚 Filters explained
A filter is used to create a segment of customers. A filter can be as simple as shown below.
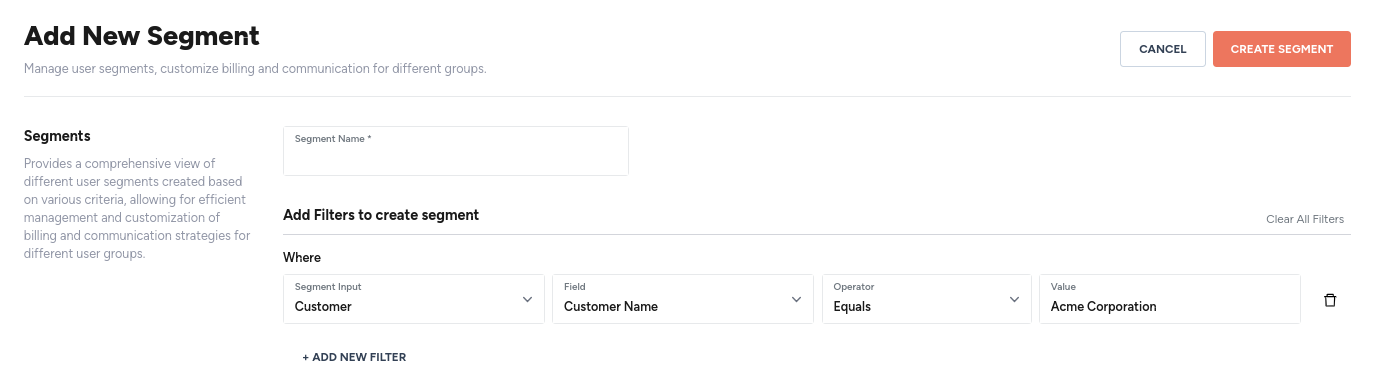
Fig. 1: Create a simple segment based on a filter of type customer.
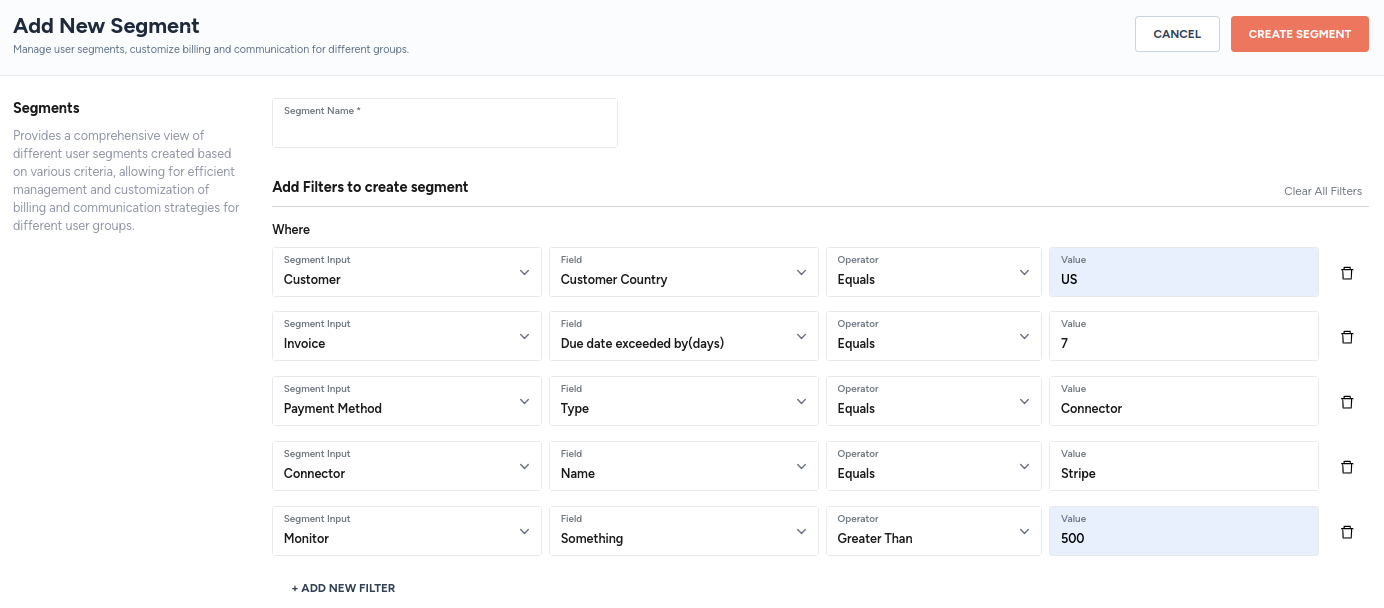
You can add multiple filters of the same type, as shown below.

Fig. 2: Create a complex segment based on filters of type customer.
You can also combine filters of different types to create a complex segment, as shown below.
⚙️ Edit a segment
- Navigate to Communications > Segments in the left side-panel.
- You will arrive at Segments page.
- Click on the segment you would like to edit. Alternatively, you can use the kebab menu located at the end of the row containing the segment.
- Make the necessary edits.
- Click on the SAVE button.
⚙️ Use a segment
- Navigate to Communications > Configurations in the left side-panel.
- You will arrive at Configurations page.
- Click on the + ADD COMMUNICATION button.
- On the Add New Messaging page, add the following details:
- Communication name: any string that describes the message.
- Segment: click on the drop-down menu to select the segment of customers.
- Event type: choose between email invoice and email payment reminder.
- Trigger type: choose between automatic and manual.
- Alert or communication type: choose between email alert and webhook.
- for email alert, select the sender and the attachment.

Updated 5 months ago